The end in sight!
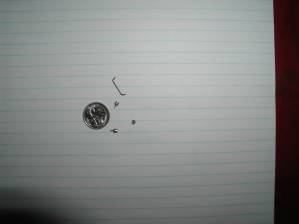 12th June 2005. 12th June 2005. I decided to give the oil tank a very good clean out. Despite rinsing it for hours in mineral turps the gunk inside wasn't showing any sign of moving. I threw a handful of nice new screws into the tank added some turps and gently shook the tank from side to side draining off the turps and replenishing with new liquid every ten minutes or so. The liquid coming out ran black for ages and at least a tablespoon of grit came with it! The big surprise was the staple and three pieces of metal (pictured left) which look to me like typical lathe swarf off the end of shafts. The coin next to it is an Aussie 5 cent piece which is about 1cm diameter. I suppose those nasty bits of metal (except the mystery staple) have been inside that oil tank for 50 years! |
|
|
|
|
|
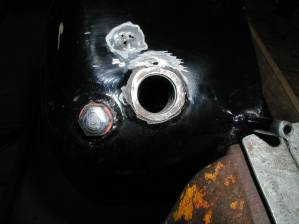
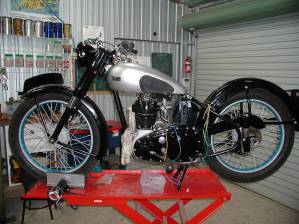 After I've had a session repairing the unexpected I find it's good to do a few of those easy jobs which take the bike a few more leaps forward - in appearance at least. I fitted the headlight shell and because it had to be done sometime I also did the tank fitting. The tank is secured at the rear by two 5/16 cycle thread bolts (which were not with the bike - surprise,surprise) and rubber blocks which absorb vibration. We cut down some old 5/16 BSCY bolts which were in my tins of collected rubbish ("Hmmm, that might come in useful one day") and then attached the rubber knee pads and BSA badges. The BSA badges are affixed by tiny metal thread screws into the tank. The holes had been filled with two pack paint so I carefully cleaned them out before fitting the screws. Disaster struck. On the last turn of a screw it snapped off flush with the tank's surface. A couple of hour's careful drilling had it out but I decided that I'd gone far enough for the day! Quit while I'm ahead. After I've had a session repairing the unexpected I find it's good to do a few of those easy jobs which take the bike a few more leaps forward - in appearance at least. I fitted the headlight shell and because it had to be done sometime I also did the tank fitting. The tank is secured at the rear by two 5/16 cycle thread bolts (which were not with the bike - surprise,surprise) and rubber blocks which absorb vibration. We cut down some old 5/16 BSCY bolts which were in my tins of collected rubbish ("Hmmm, that might come in useful one day") and then attached the rubber knee pads and BSA badges. The BSA badges are affixed by tiny metal thread screws into the tank. The holes had been filled with two pack paint so I carefully cleaned them out before fitting the screws. Disaster struck. On the last turn of a screw it snapped off flush with the tank's surface. A couple of hour's careful drilling had it out but I decided that I'd gone far enough for the day! Quit while I'm ahead. |
|
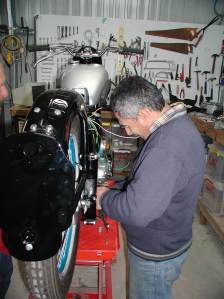
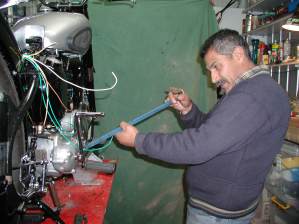
| 15th June 2005 Interesting night. Decided to fit the new rear chain and ran into trouble. The chain rubs against the rear of the primary chaincase. After much bad language (on my part) I removed the chaincase cover to get a better view and found that the problem wasn't as severe as it appeared. Simply a case of the spacers on the footpeg shaft being a couple of millimetres too short. This caused the whole chaincase cover to push closer to the sprocket when I tightened the footpegs. Additionally we found we hadn't correctly aligned the gearbox. Easily fixed. In true Harley fashion we used the jemmy bar to adjust it! |
|
 |
 |
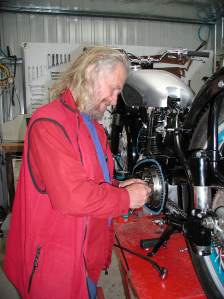 |
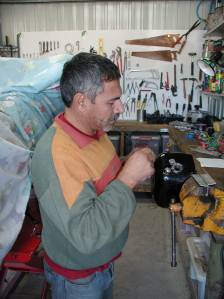
THE CONSULTANT Pictured left is Jim (yes, everyone except me seems to be named Jim or Michael!). His function in the shed crew is "consultant". His main duty is drinking copious quantities of shiraz and dropping food on the floor. We took this photo so he could pretend that he was also involved in the restoration process and hopefully impress his friends. Actually, in between the eating, drinking and storytelling Jim does lend a hand. And he owns a bike. |
| BACK TO PAGE ONE | |
