
Life beyond Bantams!
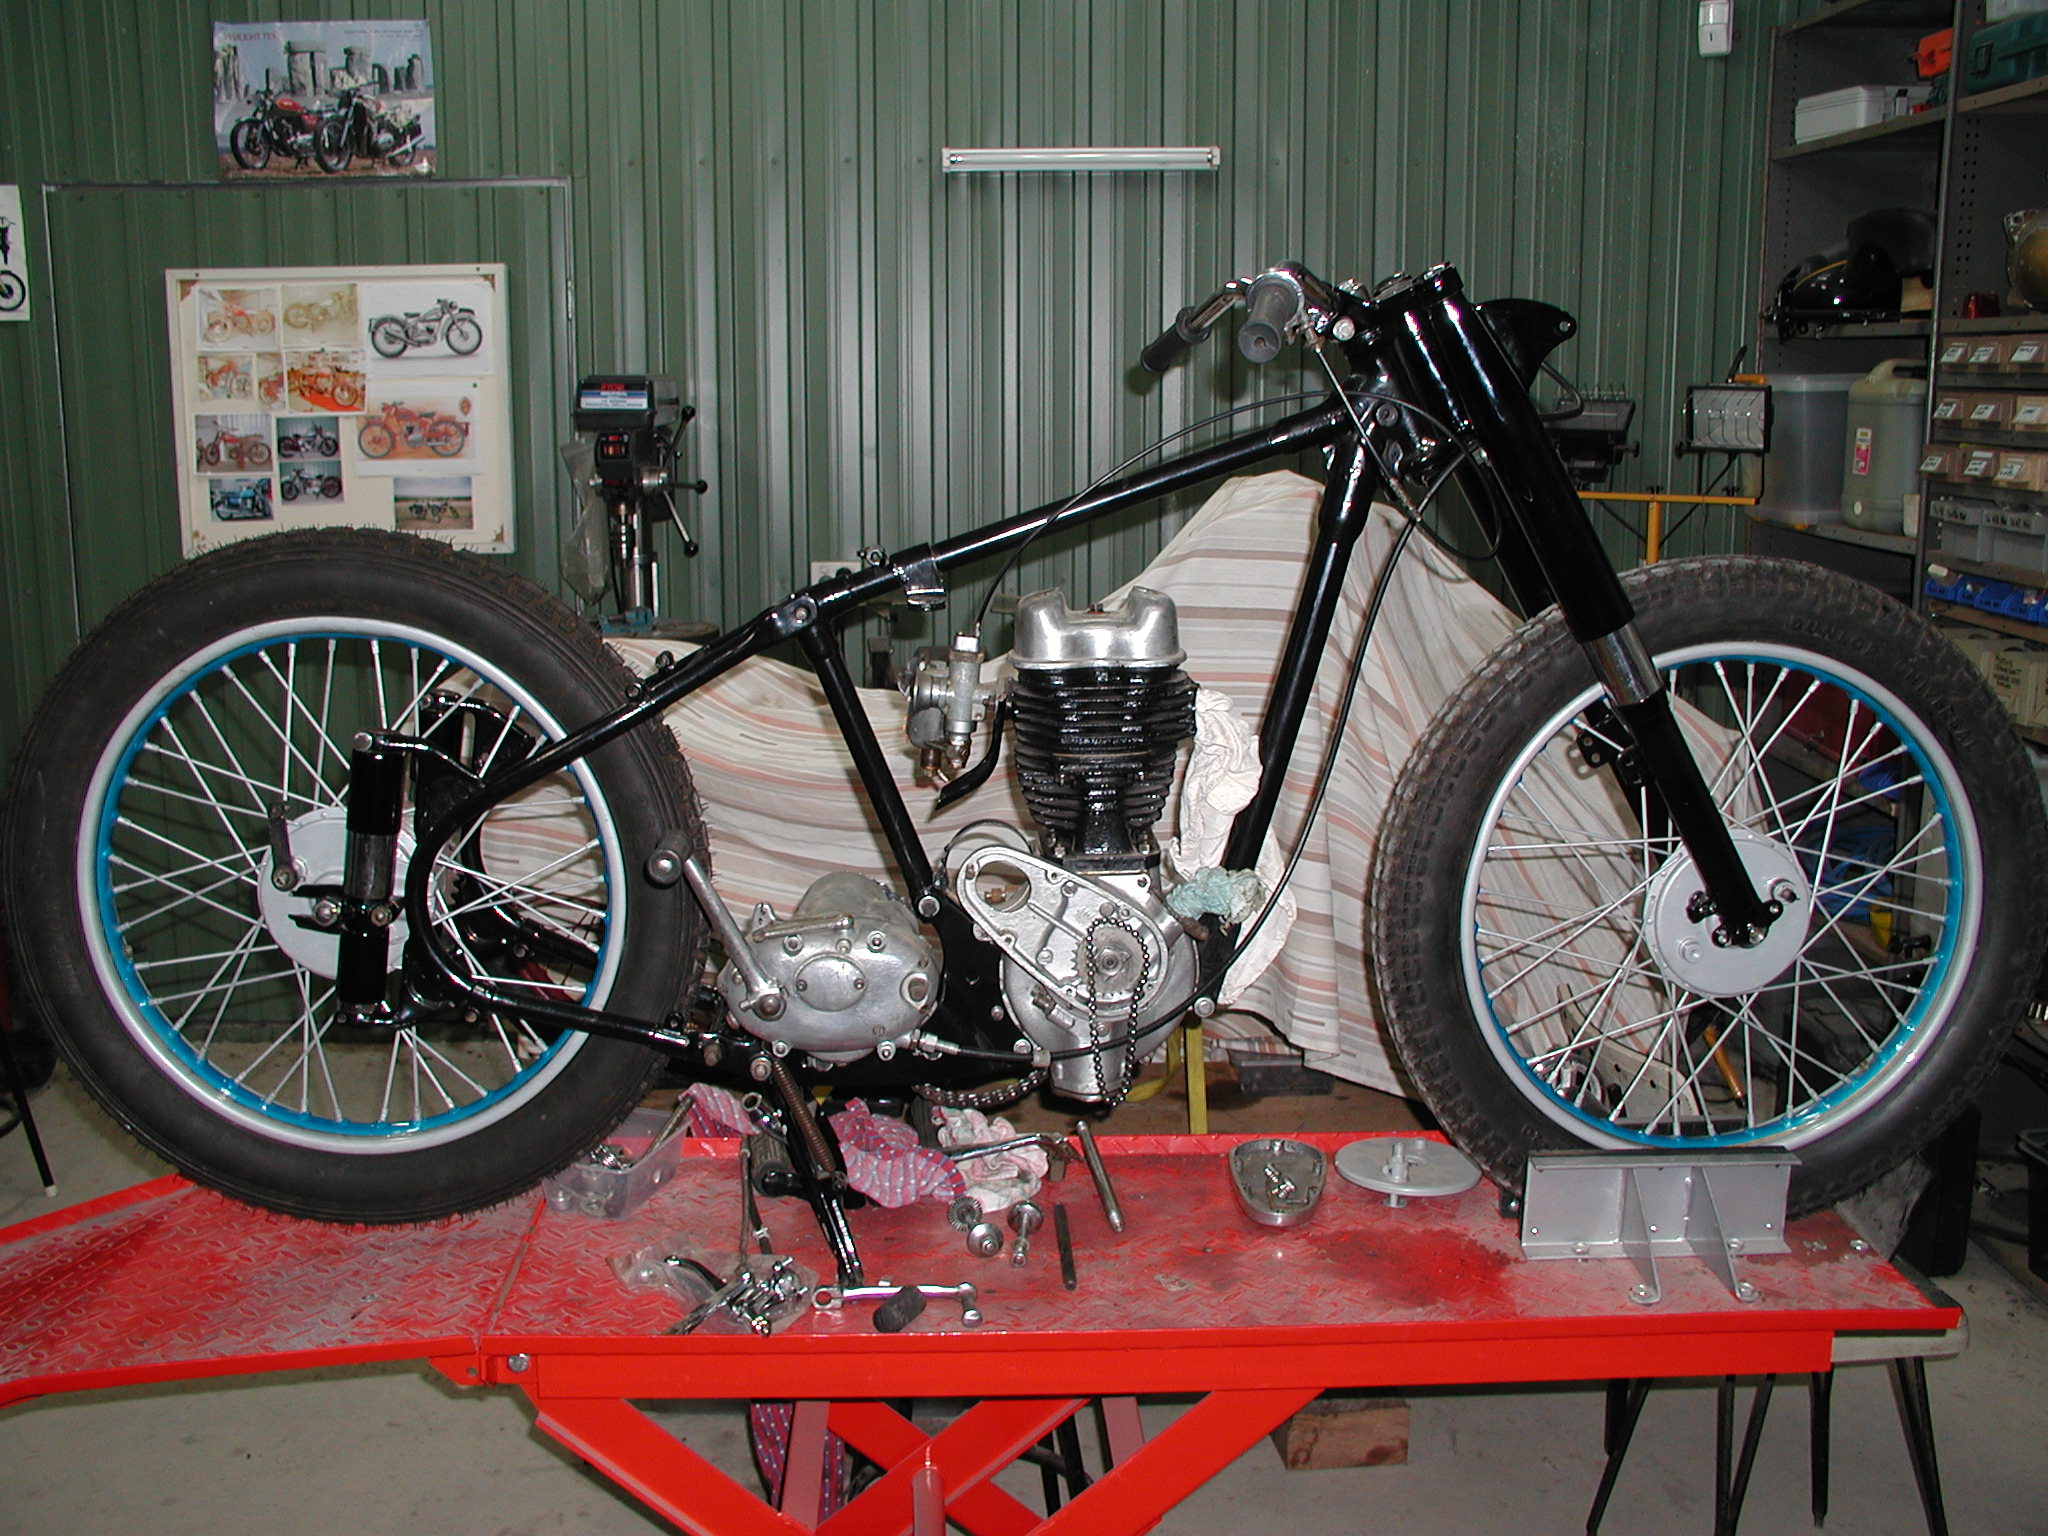 September 2004 September 2004 After finishing two Bantam restorations and enjoying the exercise I found the reality of rallying on Bantams a little, shall we say, confronting. The "ride to work" Bantams are not suited to the regular 100 kilometre plus rallies we enjoy in our local classic bike club. Two good friends have C11's and I was inexorably drawn into the C11 fold. After all, with a C11 expert next door it made good sense. I bought a C11 basket case at a swap meet. An abandoned project in pieces. First step was to do a "dry build" to ensure it was all there (which of course it wasn't!). The good news was that I had purchased a 1952 C11 deluxe with 20 inch wheels and a four speed gearbox. By chance I had bought just the C11 that would suit me perfectly. The big wheels would give it extra height for my long legs and the four speed might make it that little bit more comfortable for the club runs.I then sent the tinware off for painting and the shiny bits off to the chrome plater. I settled down to wait the usual months for the jobs to be done. In the meantime, I stripped down the motor and replaced all the gaskets. The bottom end was in good shape so it was simply a case of a rebore, new piston and rings, new valve guides, valves and springs. Plenty of Autosol on the alloy. |
|
14th May 2005. |
|
16th May 2005. |
|
| 21st May 2005. Restoration is so much fun. All that work on the primary case and I forgot that the oil tank and battery carrier are attached to a frame bolt behind the primary case .... which I now can't get at! Half an hour with a hacksaw and the bolt is off and reversed so that we can attach the tank and carrier whilst leaving the primary case in place. Carrier goes on nicely, now for the oil tank. Close inspection reveals a previous owner powder coated over a hole in the tank which was plugged by a piece of sponge. Yes, the powder coat somehow stuck to the sponge! And yes, I know I should have checked. Ah well, something to do over the weekend! |
|
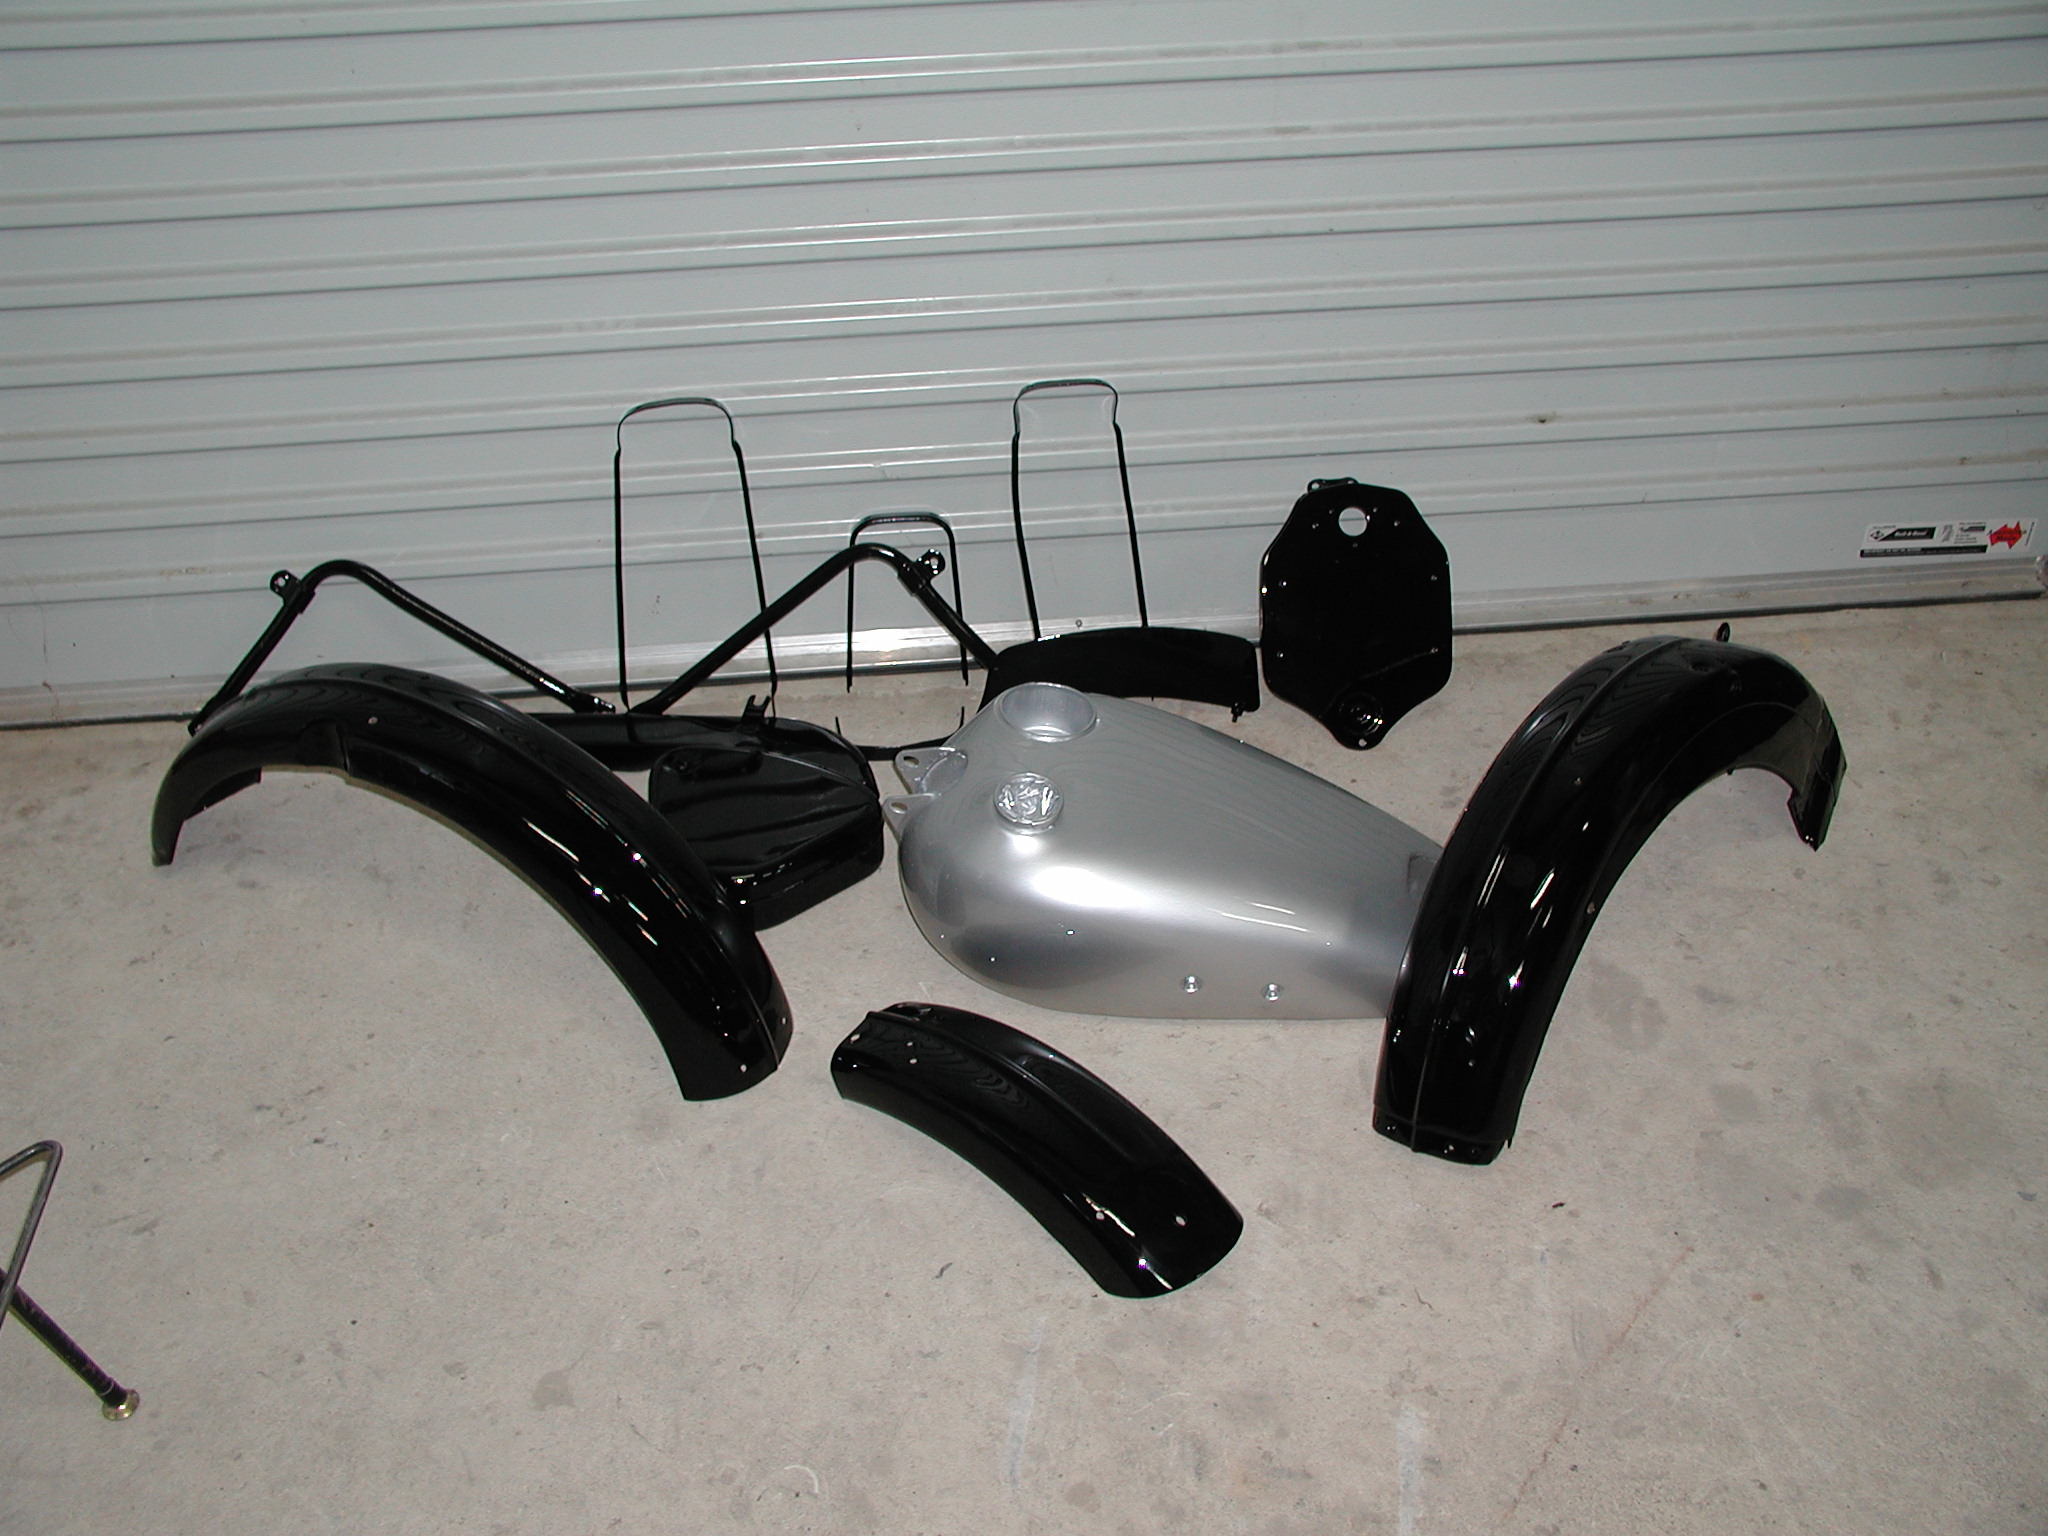 4th June 2005 4th June 2005Good news in the form of a call from the painter to say that the two-pack black bits and the two-pack silver tank are ready to collect.When I purchased the bike as a dicarded project some of the parts had already been badly powder coated. I have retained the frame and a few other bits in the black powder coat and had the rest re-painted. I started to fit the parts back on the bike and found that the front mudguard stays didn't fit. A lesson there. New stays to be made and painted. Yes, the bike should have a chromed tank but on this restoration I am keeping check on the costs. The silver tank will look fine when the rubber knee pads and BSA badges are affixed. I might even add some blue pinstriping. |
|
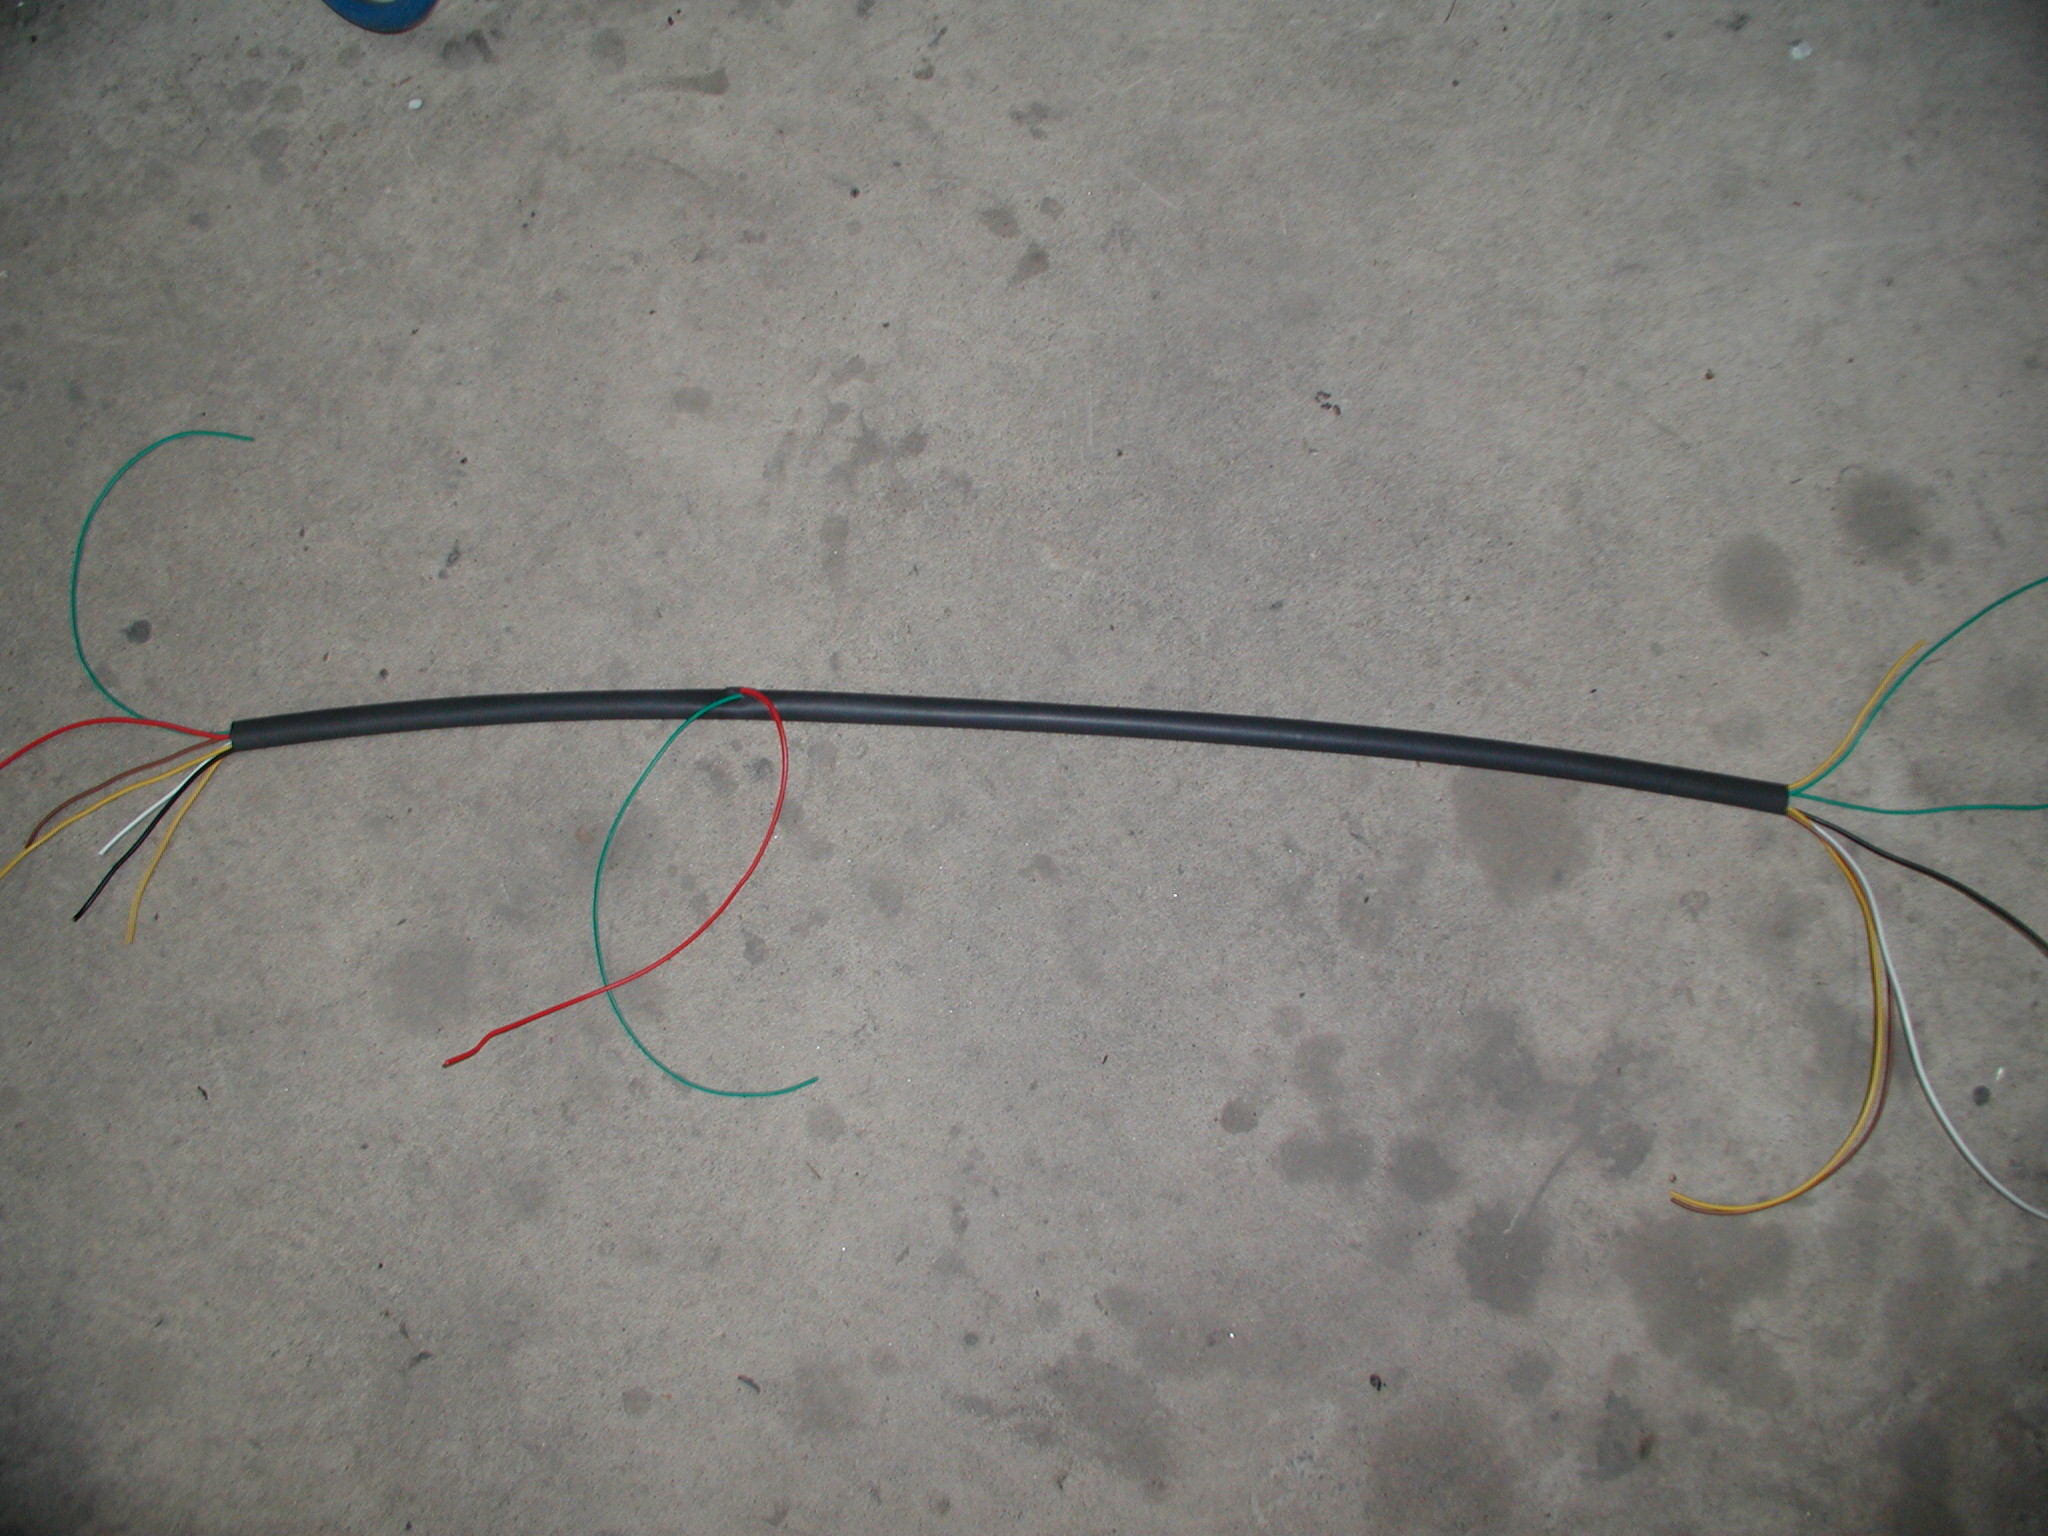 I started rewiring the bike. I have had the dynamo refurbished and have purchased a Podtronics solid state regulator. As my bike is a post 1950 model it will be wired positive earth. I have not retained the BSA colouring on the wiring (too expensive and time consuming to source the multicoloured wires) and have devised a loom of my own colour system. I will include the schematics on this site. The main backbone loom (pictured left) is encased in a 910mm shrink tube. and carries about 80% of the bikes wiring. This I attach with cable ties (Originality goes out the window for me when it comes to cable ties - they are one of the restorer's greatest friends!). I started rewiring the bike. I have had the dynamo refurbished and have purchased a Podtronics solid state regulator. As my bike is a post 1950 model it will be wired positive earth. I have not retained the BSA colouring on the wiring (too expensive and time consuming to source the multicoloured wires) and have devised a loom of my own colour system. I will include the schematics on this site. The main backbone loom (pictured left) is encased in a 910mm shrink tube. and carries about 80% of the bikes wiring. This I attach with cable ties (Originality goes out the window for me when it comes to cable ties - they are one of the restorer's greatest friends!). |
|
| 5th June 2005 Fitted the front mudguard and wheel. The wheels have been a epic in themselves. C11's have adjustable cup and cone wheel bearings. These can be a little hard to source - hard but not impossible. The previous owner had decided to do a conversion to ball races and in the process machined out the hubs and then machined the axles. I suspect that when things wouldn't work he gave up! I had to sleeve the hubs to fit the ball races and machine suitable spacers for the axles. The wheels are now aligned but it would have been a whole lot easier to buy new cup and cone bearings! Spinning the wheels shows both front and rear have bumps on the rims. This may warrant new rims (good opportunity to get rid of the horrible battleship grey paint on the rims, spokes and hubs). Next step is to fit the rear guard. |
|
 8th June 2005 8th June 2005Busy night's work in the shed. Fitted the wheels back on, the front and rear guards and the numberplate/taillight bracket. Managed to squeeze the chainguard on without scratching too much of the new paint. I'm starting to think we're not too far off starting her for the first time. Long weekend coming up - a chance to put in a few hours! |
|
| GO TO NEXT PAGE | |