RESTORATION 1949 D1 - PART 11 
May 2002: FINISHED!!!!!!
May 2002
Months since the last update but the bike is finally finished. A couple of people have already asked about the tank transfer and lack of fork gaiters. Both correct for 1949. The horrible mirrors are a local registration requirement here - sorry about them! |
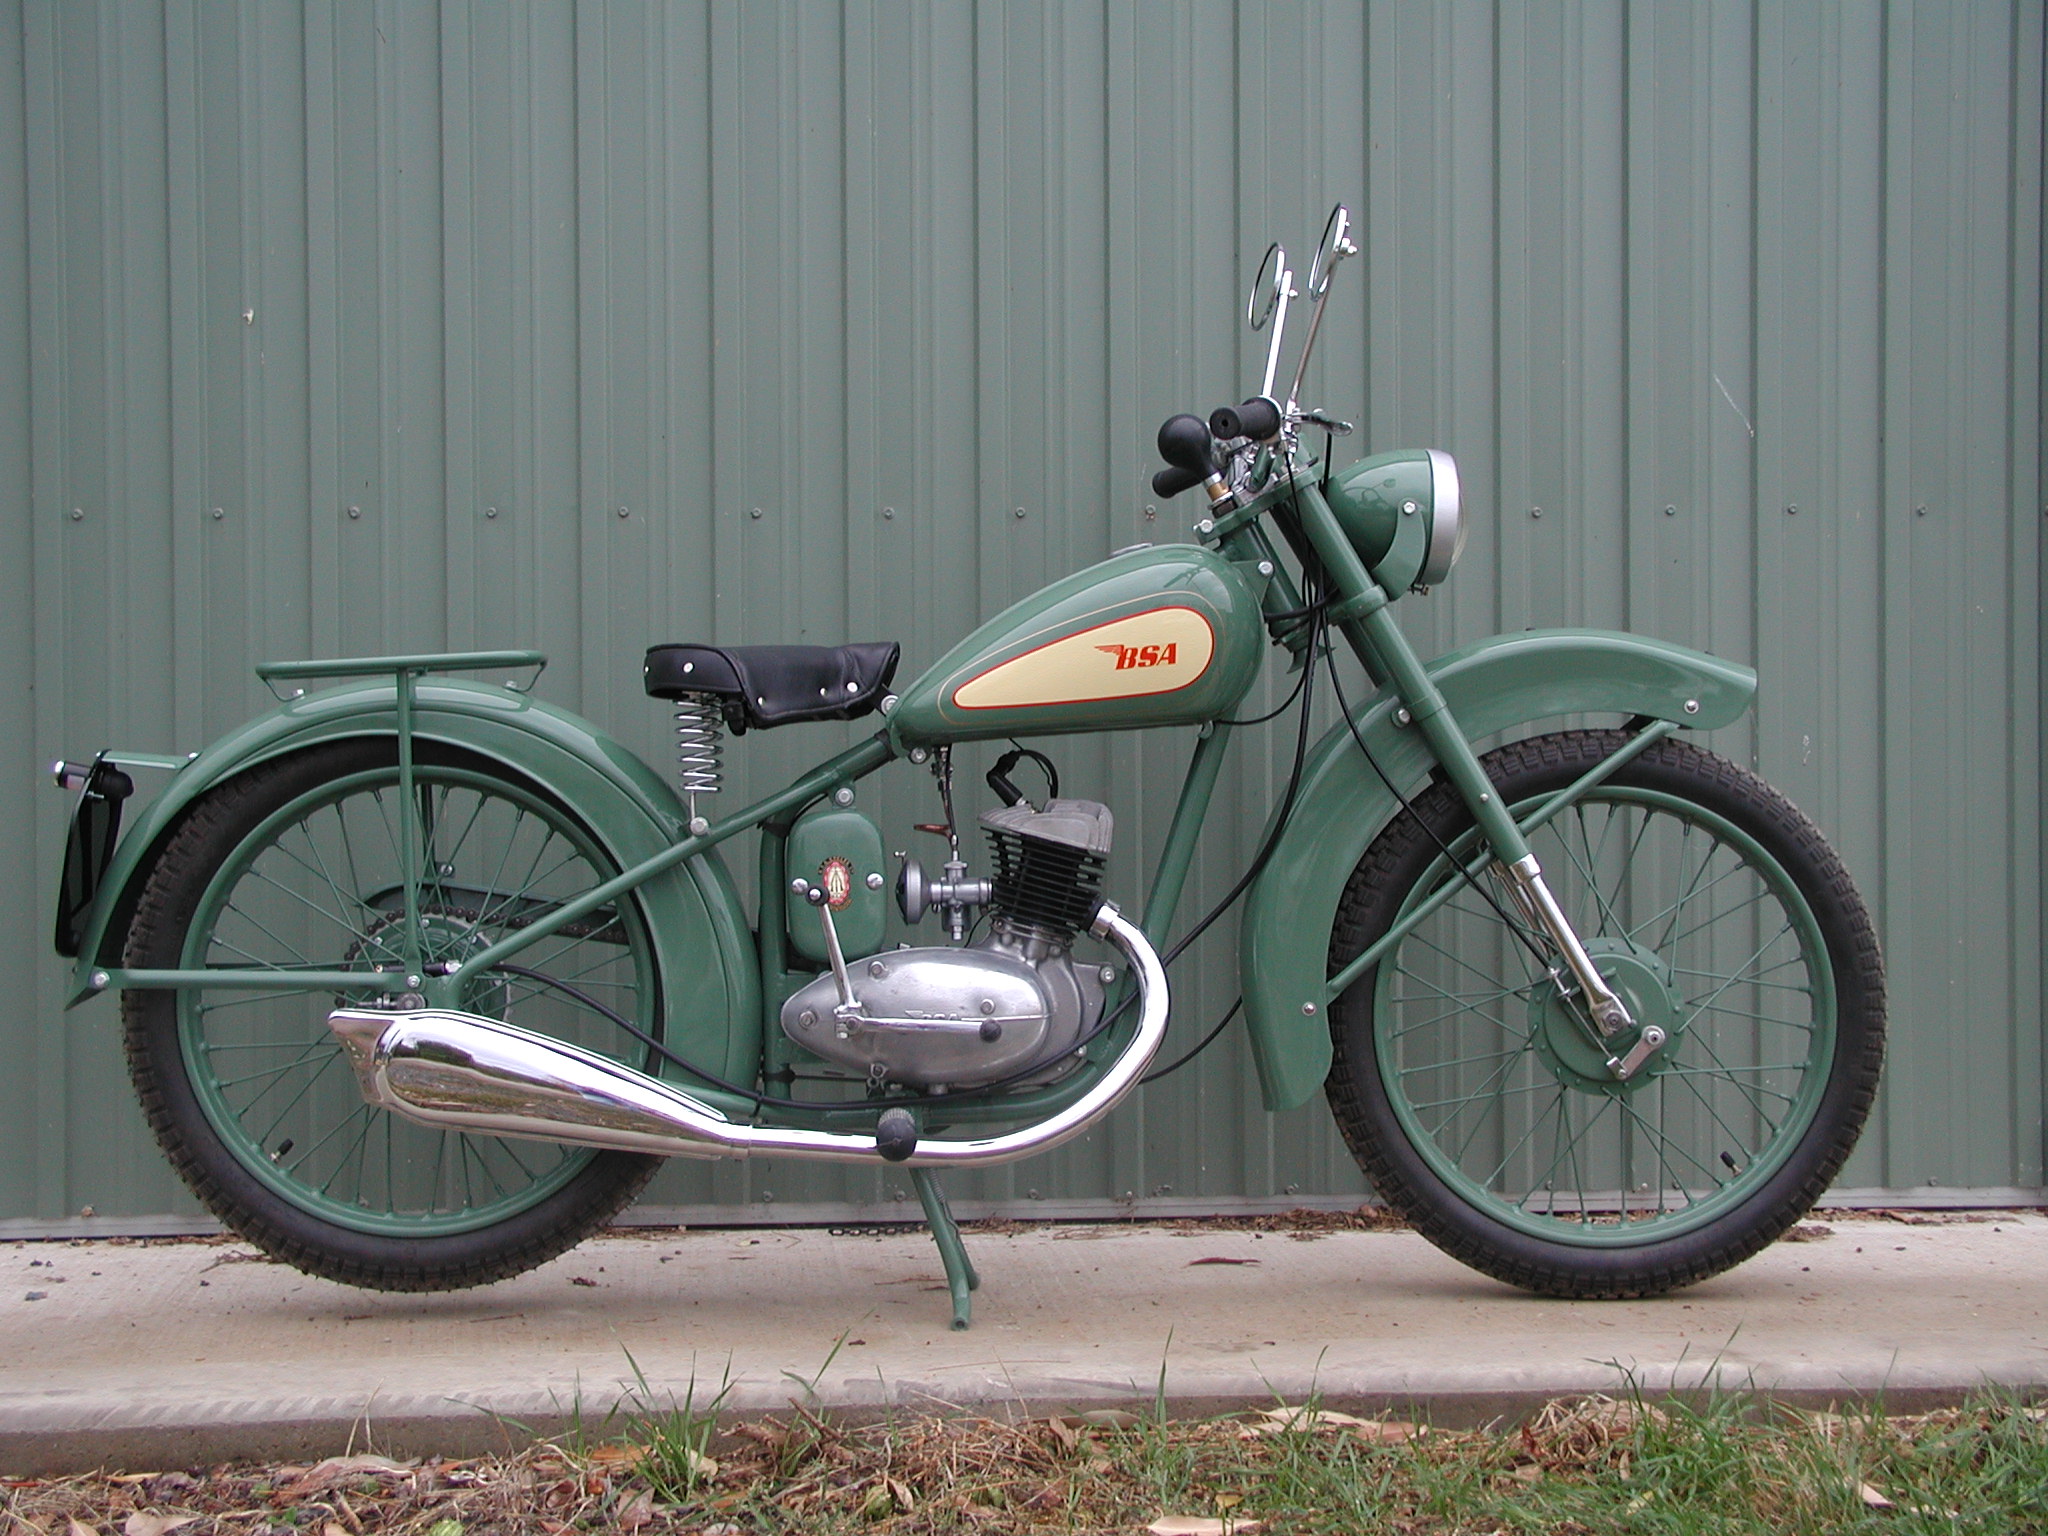 |
I managed the wiring without any problems at all - the cable operated lights even work! The exhaust header was an old pipe I had found and it came back from the platers de-coked and like new.
|
I had a few last minute panics - a bent frame was discovered but corrected. Lesson to all: check frame alignment BEFORE you do the painting. The bottom mount for the toolbox broke off while I was affixing it to the frame. A bit of clever Mig welding (thanks Gary) and touch up paint corrected the problem. |
The first push didn't elicit any life from the bike and when I checked the fuel I found the carby was dry. Further investigation revealed the petrol tap clogged with sand from the sandblaster. Despite haqving diligently washed the tank numerous times there was still some sand in it. Another few washes and we connected up the petrol lines and gave her a push. It started immediately. A bit smokey because it is on the 16:1 run-in ratio but it runs beautifully!
I'll include some close-up photos at a later date but for a bigger photo of the above just click on to the pic. Lots of people to thank. Kym for the engine work, Dave for another restorers support and interest (and parts!), Ian at C&D and the guys at British Spares for so many hard to find bits, Chuck in Texas for that headlight shell (where are you Chuck?), Jim next door for his untiring assistance and of course, my family for tolerating all this nonsense!
Next project, my son's D7 is already underway. Watch this space! |
|
| |
|
| |
|
| |
|
| |
|
| BACK TO PART 10 |
GO TO PART 12 |
| |
|
| |
|
| |
|